Van Build Planning 101: Prioritize Key Components and Pre-Plan for Future Upgrades
- Julie Lucas

- Oct 30, 2024
- 5 min read
Updated: May 26, 2025
This post contains some affiliate links, which means that we make a small commission off items you purchase at no additional cost to you.
There are thousands of decisions that go into an off-grid camper van conversion, and narrowing down which components to include can be tricky—especially when working with a limited budget. In this blog post, we’ll explore which components and upgrades need to be determined from the beginning and which can be added later with a bit of thoughtful pre-planning.
Whether you're diving into a DIY build or working with an experienced upfitter, planning your essential features early on is key to ensuring the van meets your needs down the road. Not all components or upgrades can be easily added after the initial build, so a well-thought-out approach from the start will save both time and money as you create a van that grows with your adventures. From electrical systems and appliances to Starlink and other luxury upgrades, we’ll help you prioritize and make budget-friendly choices that keep future possibilities open.
Must-Have Components to Decide on from the Beginning
As a general rule, think of the essentials as the things that need to be decided from the start, as they’re challenging and costly to add later. This includes items like plumbing, electrical systems, heating, and air conditioning. Retrofitting these systems later means removing already-installed components, which can take a lot of time and money.
Power Needs

Your power system is one of the most crucial decisions to make early on. Upgrading your battery capacity later isn’t just costly—it’s complicated. Adding a new battery to an existing system can create issues, as older batteries discharge faster than new ones. This mismatch can shorten the lifespan of both batteries and may even void warranties. If you ever need more power, you’ll likely have to replace all existing batteries, which can be a major expense.
If you’re looking for ultra-fast battery charging, we recommend installing the Nations Alternator and Wakespeed Regulator from the get-go as they can be tricky to add down the line.
While it’s tempting to skimp on your power system due to the cost, consider how you’ll use your van, your access to shore power, and the potential resale value. If you travel off-grid and plan on installing power-hungry appliances like a microwave or air conditioning unit, you’ll need a robust battery setup to avoid constantly worrying about power consumption. Traveling with pets? Ensuring your AC system can run efficiently when you're away is crucial for their comfort and safety.
For a deep dive into determining your power needs, check out our blog post, “How Much Power Do You Really Need? Your Guide to Going Off-Grid in an Adventure Van.”
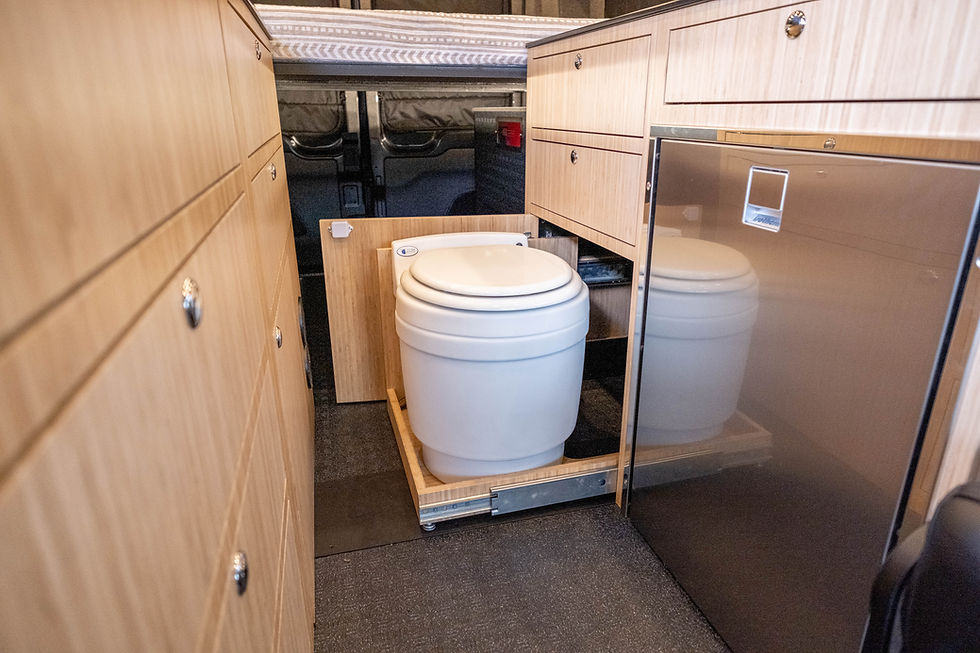
Air Conditioning

Air conditioning is another component to decide on early. While it’s possible to install AC later, doing so in a built-out van is much more expensive and difficult. It often requires removing cabinets, wall panels, and rewiring systems. Adding both AC and additional power later (to support the AC) can easily exceed $20K! If you’re looking for a more flexible option, consider a portable AC unit like the EcoFlow, which has an attachable battery pack.
Suspension and Tires

While an upgraded suspension system and heavy-duty tires can be added after the fact, we consider these foundational to your van’s safety and performance. A high quality suspension will also help protect your interior conversion. So while they’re easy to install later, we recommend including them from the start.
To learn more about why a suspension is important and the specific suspension upgrades we recommend, check out our blog post “Do I Really Need an Upgraded Suspension for My Van Conversion? And if so, Which One Do I Choose?”
Window Covers
Don't overlook the importance of quality window covers. They may seem like a small detail, but you won’t want to use your van without them (ask us how we know!). Save for them from the start, as high-quality coverings aren’t cheap, but they make a big difference in comfort and privacy.
Insulated window covers are particularly valuable for regulating the temperature inside your van, helping to keep it cozy in the winter and cooler during hot summer months. By blocking drafts and insulating against heat, these covers also reduce the load on your heating or cooling systems, making your van more energy-efficient overall.
Components You Can Add Later (with Pre-Planning)
Building a campervan is a significant investment, and while it might be nice to include every feature up front, it’s often more budget-friendly to prioritize essentials and save some upgrades for later. Here are some components you can hold off on initially but should plan for during the build to keep your van adaptable to upgrades over time.
Exterior Lighting

Exterior lighting can be added later, but be sure to pre-wire your van for it during the build. This way, when you’re ready to install the lights, you won’t need to remove walls or reroute wiring.
Water Filters
If you leave space for a water filter—such as in a wheel well cabinet or under the sink—you can easily add one later. Our water filter of choice is Guzzle H2O.
Starlink
Starlink can also be added down the line, but we recommend planning ahead by routing wires and integrating it with your control system to ensure a seamless installation.
Upgrades You Can Easily Add Later
Once you’ve covered the essentials, there are plenty of nice-to-have features you can add as time and budget allow. This is not an all-inclusive list, but here are some upgrades that can easily be added down the road:
Van Wraps: A custom wrap can be added later to personalize your van and protect its exterior. However, to save some serious headache, we recommend adding this before you install your exterior bolt-on items.
Exterior Bolt-On Items: Things like bumpers, winches, roof racks, ladders, rear tire carriers, skid plates, and storage boxes can be installed later. However, if your budget allows, we recommend installing a roof rack early on so that you can mount your solar panels to the rack rather than directly on the roof. This will future-proof your van and offer more flexibility.
Bug Screens: For added comfort during your travels, bug screens can be installed at any point. We love the Bug Wall, and they’re made right here in the U.S.
Awnings: A retractable awning can be added after your initial build for extra shade and outdoor living space.
Scheelmann Seats: These luxury van seats can be installed at any time for added comfort on the road. You can also customize them with several leather and fabric options.
Bluetooth Projector and Screen: If you want to turn your van into a mobile theater, a Bluetooth projector and screen can easily be added later.
By making strategic decisions on your core systems from the beginning and leaving room for upgrades down the road, you can build the van of your dreams while staying within your budget.
If you’re interested in a professional van build, reach out to us! We work closely with our clients to prioritize components that fit their needs and budget.


Comments